Showing posts with label Halloween. Show all posts

Monday, October 10, 2011

Halloween from Murray


It's been way too long since I posted anything.   I really have no excuse.
I recently had some projects that really took time and I'd like to share with you.
I saw some really cute Halloween decorations in a store in our little town and I decided I could make them.


 So I got to work,  I bought some burlap and began the projects.
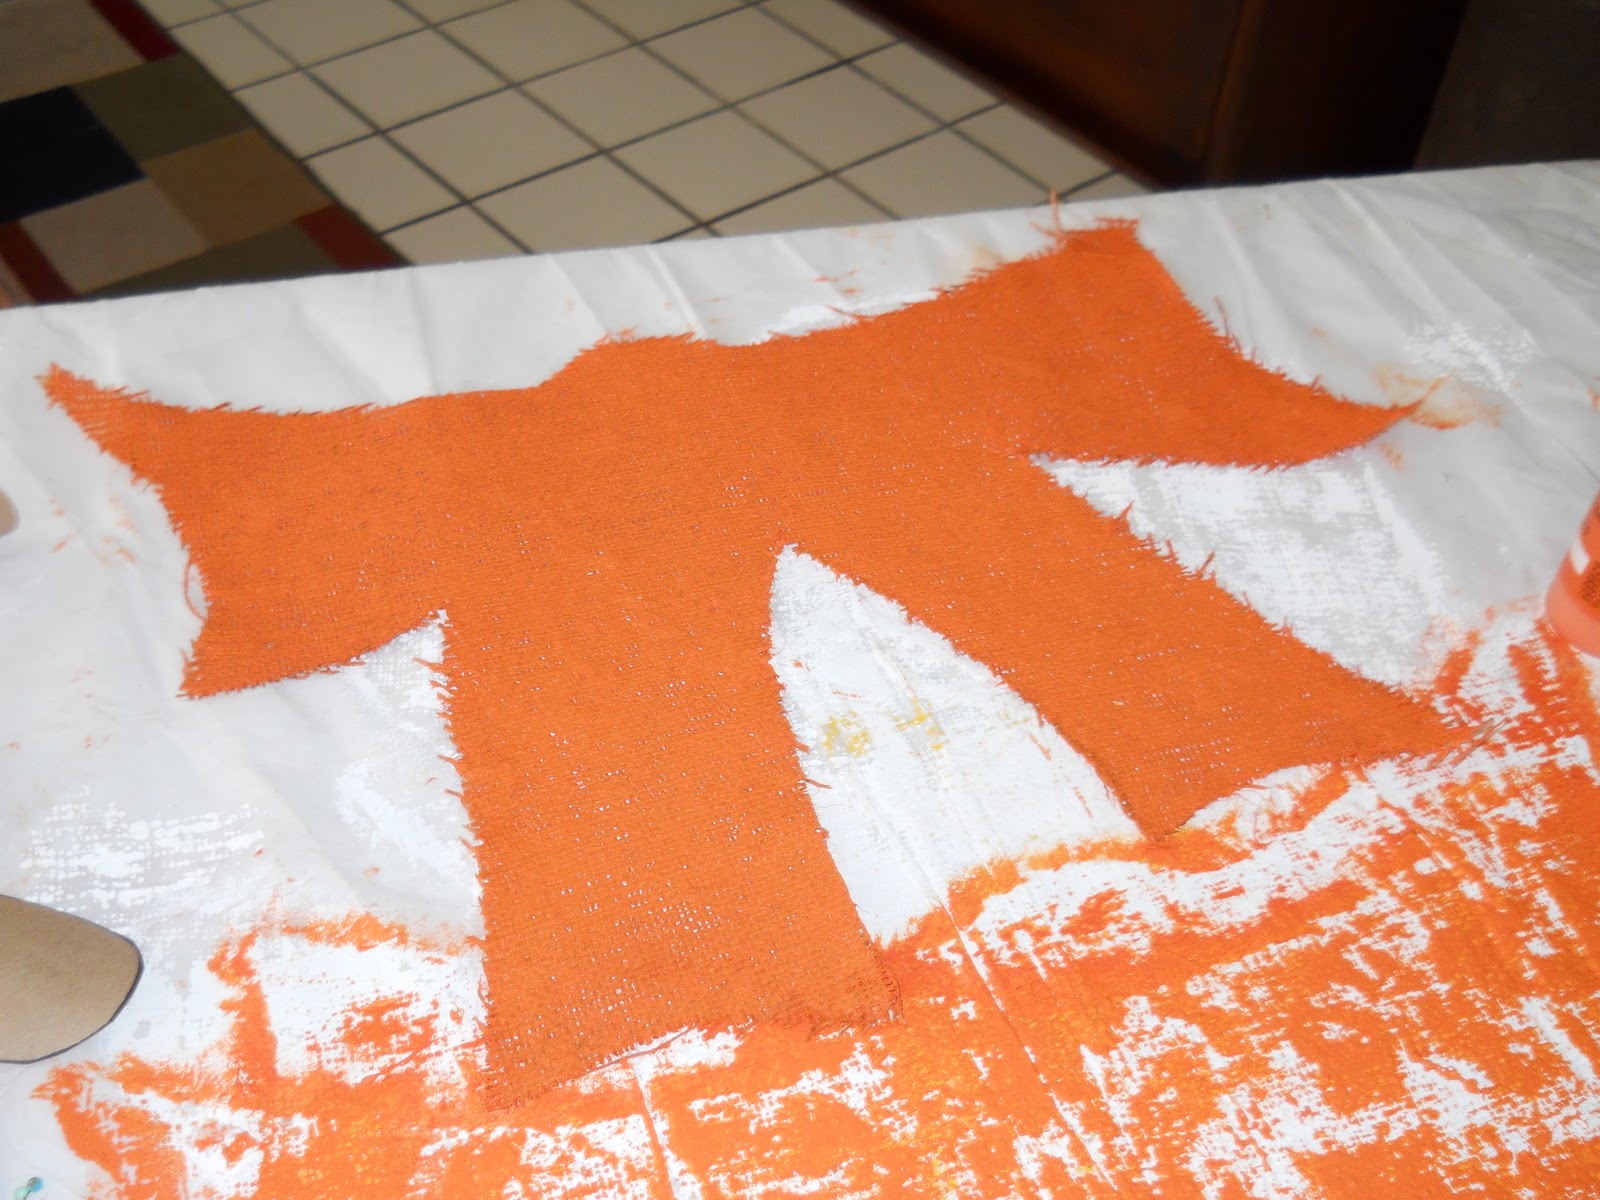
I first had to make patterns, I drew them out on brown paper.

Then I cut them out both front and back and began to paint them.


After I got them painted I stuffed the back side with brown paper scrunched up and hot glued.
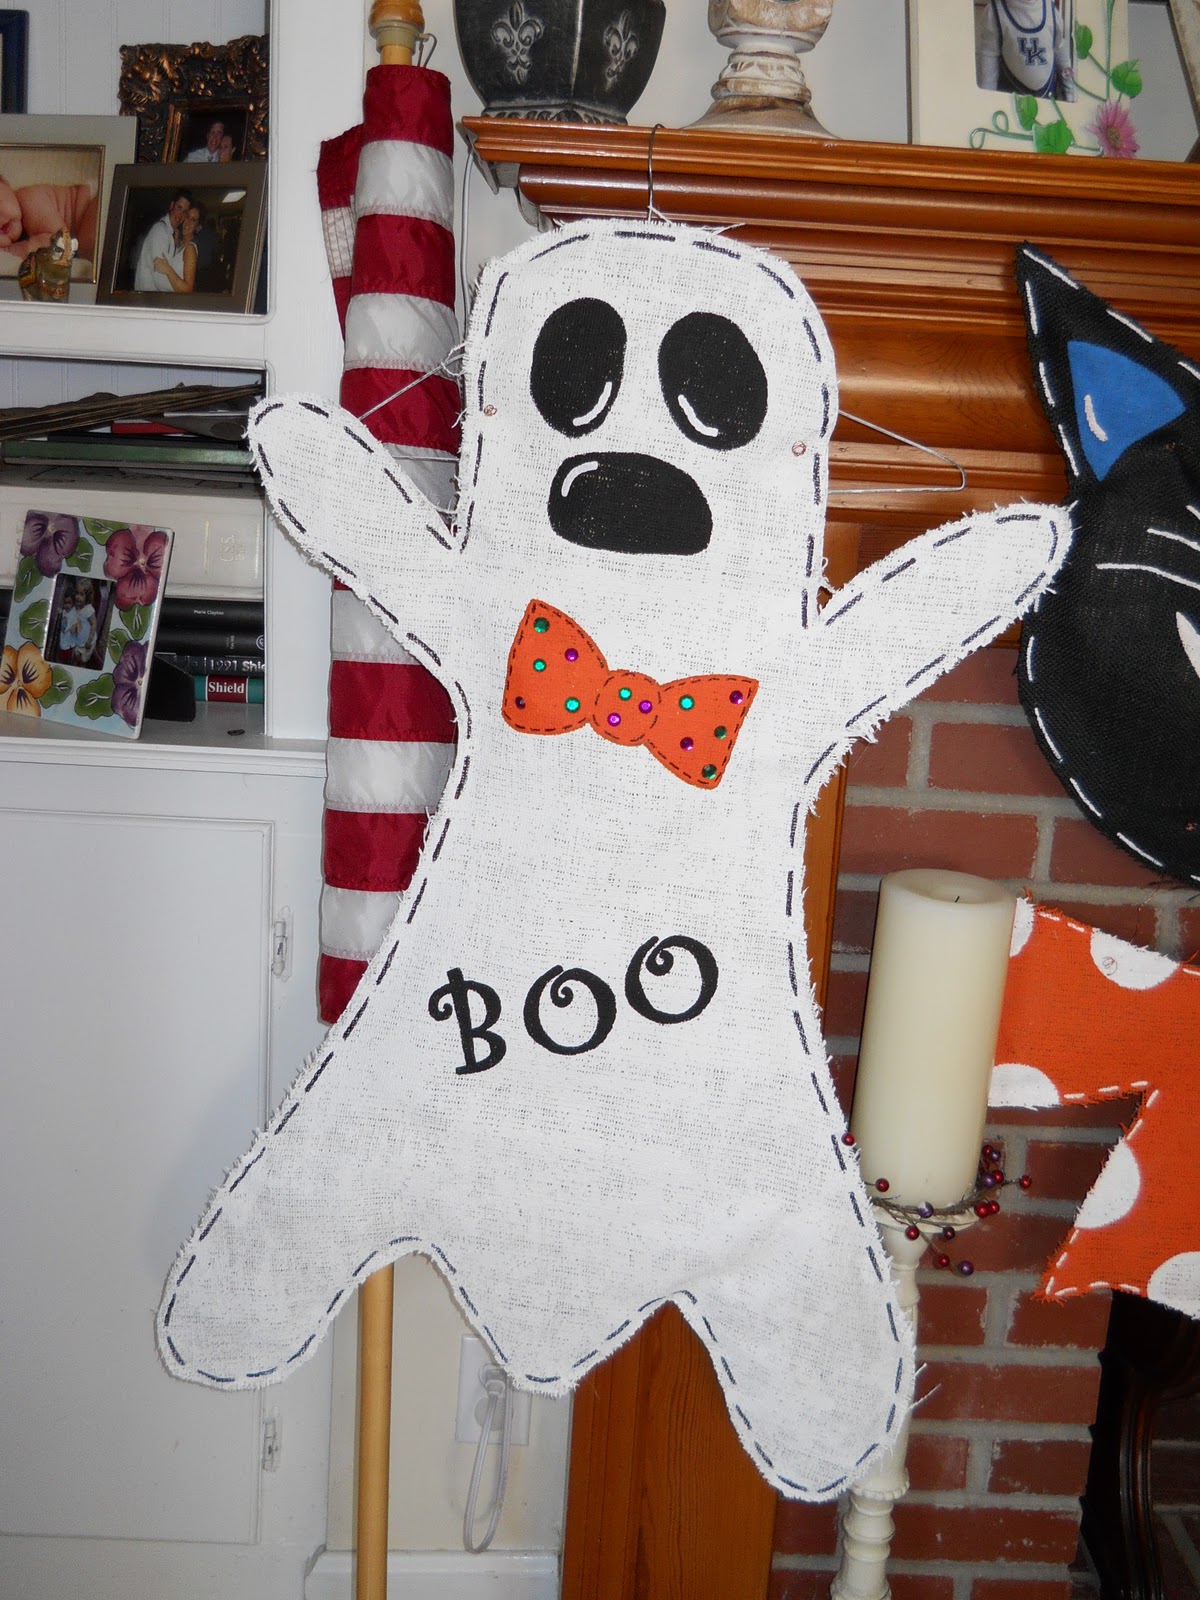
 Then I hot glued the front to the back and painted the trim.
I then made a hanger out of copper wire and voila, here they are.


So what do you think?
Happy Halloween from Murray,
Kathy

Friday, September 16, 2011

Getting ready for Halloween in Murray

Greetings from Murray
I recently completed a fun Halloween wreath I'd like to share with you.


 Isn't this cute?

So I began to try to put my version together and here it is.

I started with just a plain round wreath and began to tie strips of black tulle around the entire thing (see directions from website above).
Then I put a fun pink (not orange, not purple, but pink) feather boa in the center.

Don't you just love the color?  I then just simply painted the word, "Beware" on an unstained wood disc from the Walmart craft aisle.  Then to glam it up a bit I used crystal-like sequined stickers to outline it.
 I couldn't find a raven as was in the original wreath from Flamingo Toes so I used spiders that I got from the Dollar Tree.
 SCARY!
Here's what it looked like when I put it all together.
I love Halloween and enjoy decorating for it.
Hope you enjoy.
From Murray,
Kathy

Thursday, August 25, 2011

Countdown to Candy

Greetings from Murray.
Today I'd like to show you a project that my son and daughter-in-law helped me out with last year.  The idea came from http://www.howdoesshe.com/.
Their cute "Countdown to Candy" blocks were just calling us to make some.
Aren't these so cute?
To start with you need a 4x4 post.  You'll cut 1 piece 6 inches, then you'll cut 2 pieces roughly 3.5x3.5 inches. Your goal is to make a square out of the 3 pieces. 
Select some really cute Halloween scrapbook paper and MODPODGE each side of the smaller pieces so that all sides are covered.  This takes a while as you want each side to get dry. (Make each side a different piece of paper)
Then using your Cricut (which by the way I think is perhaps the best thing ever invented, my daughter-in-laws say they will fight over it when I am gone, Ha), cut black vinyl numbers 1,2,6,0,7,and8  and put them on the first small block.
Then on the second block cut your vinyl letters, 1,4,3,5,2,0 and place them on.
On the big block using your vinyl cut the words, Countdown to Candy out and use whatever font you like. 
Sand the edges, Stain and let dry.
Add a cute little ribbon and in my case I used a free printable from
Voila, here's how our blocks came out.
We made 4 of them, one for each of my daughter-in-laws, one for my mother, and of course one for me.
We used two different fonts and lots of really cute Halloween scrapbook paper,
What do you think?
cute huh?
Here's hoping everything is well with all of you and let's keep our neighbors on the East coast in our prayers the next few days as Hurricane Irene comes to land.
From Murray,
Kathy