Monday, October 10, 2011

Halloween from Murray


It's been way too long since I posted anything.   I really have no excuse.
I recently had some projects that really took time and I'd like to share with you.
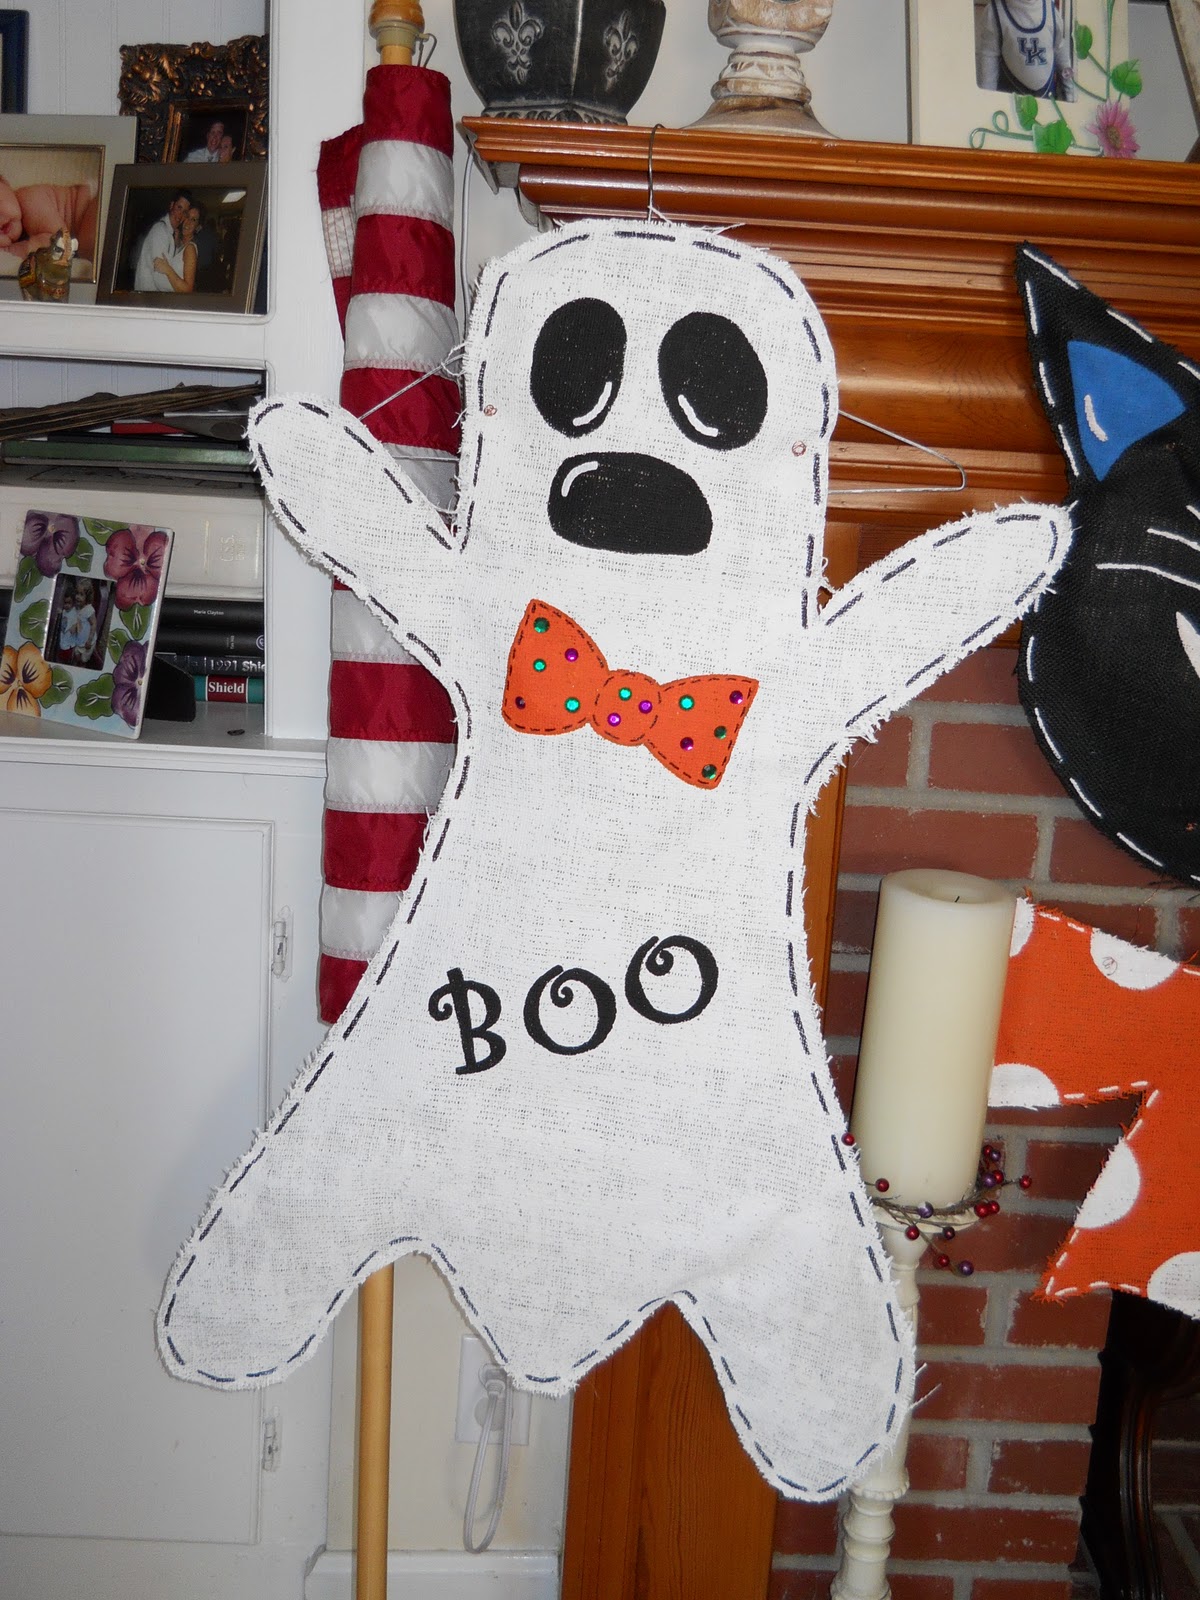
I saw some really cute Halloween decorations in a store in our little town and I decided I could make them.


 So I got to work,  I bought some burlap and began the projects.
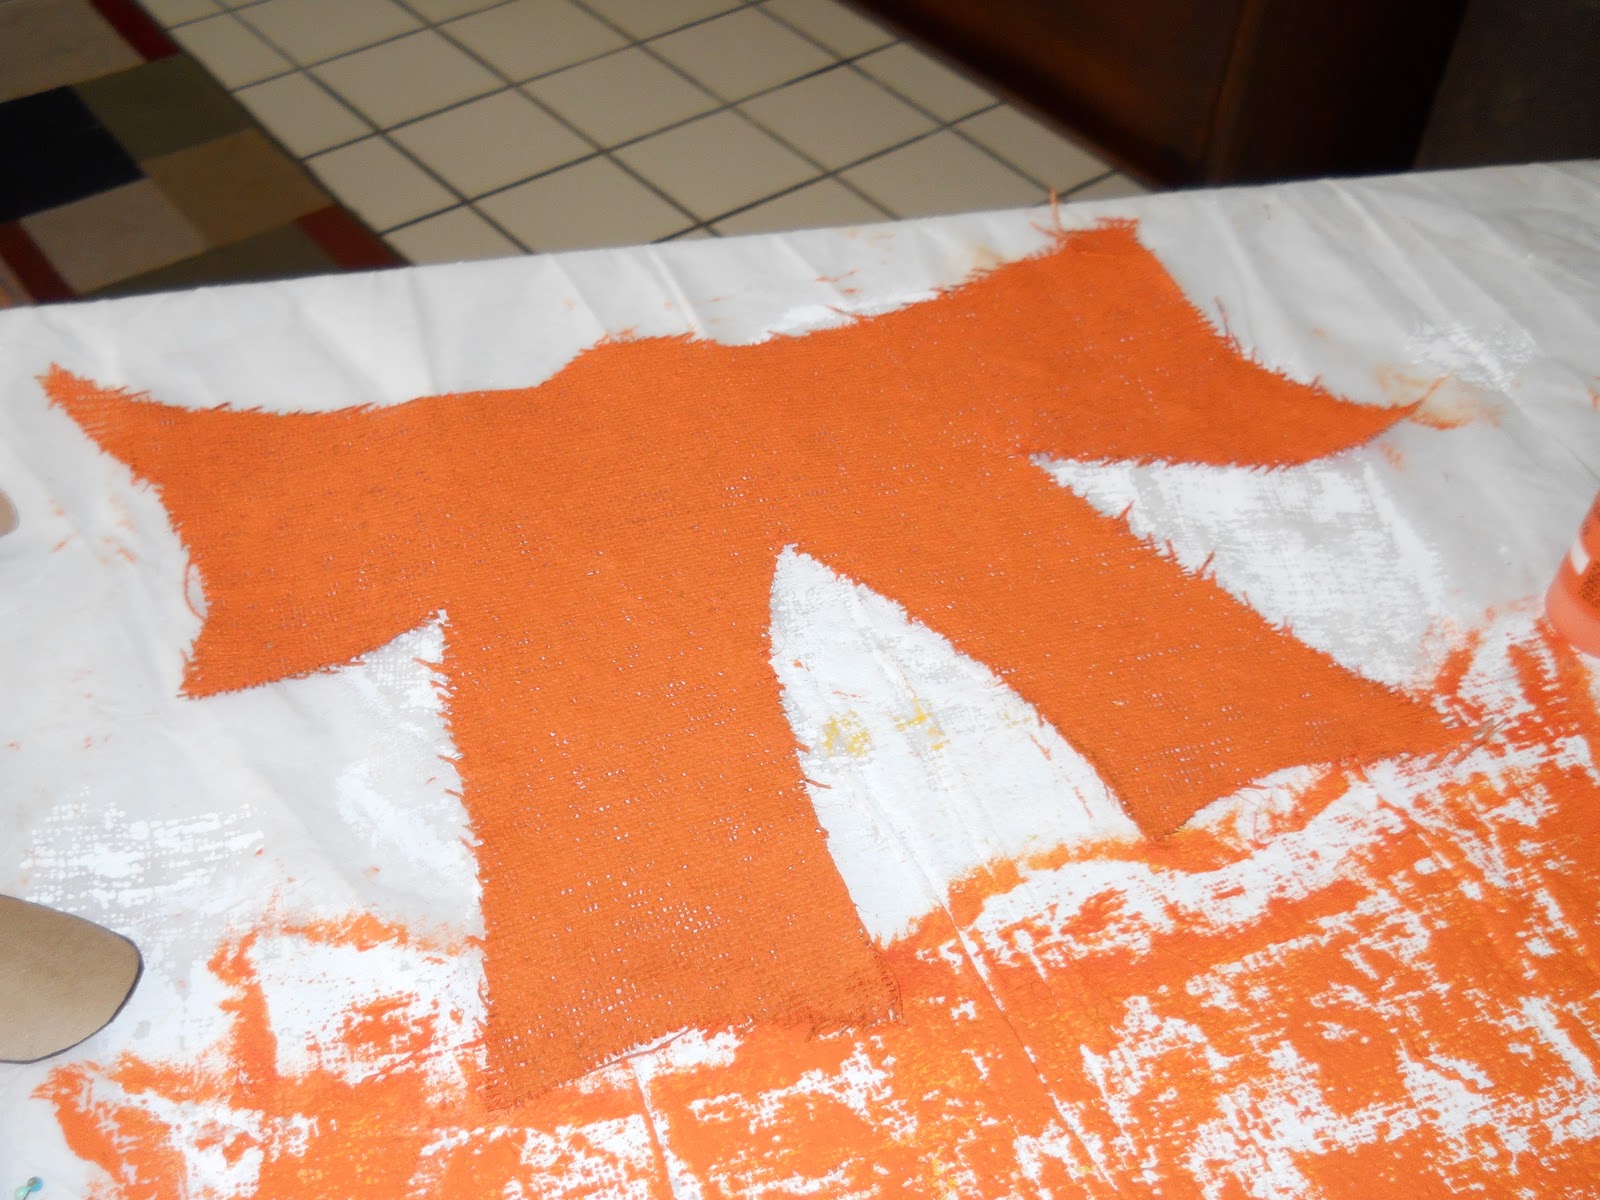
I first had to make patterns, I drew them out on brown paper.

Then I cut them out both front and back and began to paint them.


After I got them painted I stuffed the back side with brown paper scrunched up and hot glued.
 Then I hot glued the front to the back and painted the trim.
I then made a hanger out of copper wire and voila, here they are.


So what do you think?
Happy Halloween from Murray,
Kathy

Friday, September 16, 2011

Getting ready for Halloween in Murray

Greetings from Murray
I recently completed a fun Halloween wreath I'd like to share with you.


 Isn't this cute?

So I began to try to put my version together and here it is.

I started with just a plain round wreath and began to tie strips of black tulle around the entire thing (see directions from website above).
Then I put a fun pink (not orange, not purple, but pink) feather boa in the center.

Don't you just love the color?  I then just simply painted the word, "Beware" on an unstained wood disc from the Walmart craft aisle.  Then to glam it up a bit I used crystal-like sequined stickers to outline it.
 I couldn't find a raven as was in the original wreath from Flamingo Toes so I used spiders that I got from the Dollar Tree.
 SCARY!
Here's what it looked like when I put it all together.
I love Halloween and enjoy decorating for it.
Hope you enjoy.
From Murray,
Kathy

Thursday, August 25, 2011

Countdown to Candy

Greetings from Murray.
Today I'd like to show you a project that my son and daughter-in-law helped me out with last year.  The idea came from http://www.howdoesshe.com/.
Their cute "Countdown to Candy" blocks were just calling us to make some.
Aren't these so cute?
To start with you need a 4x4 post.  You'll cut 1 piece 6 inches, then you'll cut 2 pieces roughly 3.5x3.5 inches. Your goal is to make a square out of the 3 pieces. 
Select some really cute Halloween scrapbook paper and MODPODGE each side of the smaller pieces so that all sides are covered.  This takes a while as you want each side to get dry. (Make each side a different piece of paper)
Then using your Cricut (which by the way I think is perhaps the best thing ever invented, my daughter-in-laws say they will fight over it when I am gone, Ha), cut black vinyl numbers 1,2,6,0,7,and8  and put them on the first small block.
Then on the second block cut your vinyl letters, 1,4,3,5,2,0 and place them on.
On the big block using your vinyl cut the words, Countdown to Candy out and use whatever font you like. 
Sand the edges, Stain and let dry.
Add a cute little ribbon and in my case I used a free printable from
Voila, here's how our blocks came out.
We made 4 of them, one for each of my daughter-in-laws, one for my mother, and of course one for me.
We used two different fonts and lots of really cute Halloween scrapbook paper,
What do you think?
cute huh?
Here's hoping everything is well with all of you and let's keep our neighbors on the East coast in our prayers the next few days as Hurricane Irene comes to land.
From Murray,
Kathy

Monday, August 22, 2011

Fabric Wreath

Greetings from Murray. 
I have a project that I just completed this weekend and would love for you to see.  I used this tutorial, 
http://www.skiptomylou.org/2011/08/10/fabric-flower-tutorial for my flowers and they turned out so cute.
I used 3 different fabrics plus some black burlap.
I used a black and white toile, a gingham, and a stripe.
Then I used that tutorial and started making my flowers.
I then covered a button with the same material to finish off  the flower.
I made some little burlap rosettes by simply rolling them into a flower.
I added some pearl flower picks and then just started putting them together in a pleasing arrangement on my wreath.
I made a tulle bow and voila.
Here's how the finished product looks.
This is how it looks on the wall.
In our bedroom.
It was a fun project and I hope you like it as well.
From Murray,
Kathy

Friday, July 29, 2011

TV ARMOIRE Re-do

Greetings again from Murray.

Today I'd like to show you a little project I completed a few weeks ago and I thought it turned out pretty good.
We purchased a smaller TV armoire for our family room and I decided to re-do the monstrosity that was my old one and put my crafting supplies in it.
I used the idea from the very talented folks at  allthingscrafty.com.
I'm sorry I forgot to take a before picture, but just imagine a bulky big cabinet in a light oak stain.
I started out and removed all the hardward and then primed  the entire piece with Kilz for latex paint.
After that dried I painted the entire piece with Valspar semi-gloss "Fabulous Red".  To get a real good coverage it took me about 3 coats.

After that completely dried, and believe me it took a while to get the tackiness dried as it is so humid and hot in Murray, KY  right now, I painted on a tintable glaze and wiped it off.  I think I glazed it twice for a better coverage.


I used Valspar glaze with a black tint that the dudes from Lowes mixed for me.
I spray painted the hardware black and placed them back on and put it back together.
I love it, what do you think? 
I'm so excited about the outcome that I have a dresser and headboard that I have deemed as my next project.
From Murray,
Kathy

Tuesday, July 5, 2011

4th of July Work party

Greetings from Murray!
Hope everyone had a great 4th of July and got to spend it with family and friends.  I get a little emotional as I am very patriotic and love my country.  We had a good time at work and here's  our little spread in labor and delivery.
On the menu:  hotdogs, fresh corn on the cob, fresh tomatoes, boiled shrimp, chips and dip, fresh watermelon, and fruit pizza with fruit tea, water, and soda.
Yum.


The drink table.
Fruit pizza,  easy.  Roll out a package of sugar cookie dough (I used Pillsbury) on a cooking stone, cook it according to the package instructions.  After it cools, make a topping of one container of whipped cream cheese with added powdered sugar and then embellish the top with your favorite fruits.  I used blueberries and strawberries for the colors of the 4th of July.

I used printables from catchmyparty.com
As always God Bless you and God Bless America,
From Murray,
Kathy

Friday, July 1, 2011

Happy 4th of July, 2011

Happy 4th of July.  It's been a while since I have posted.  Wow, really busy, but I wanted to share a few little things I did for the 4th. 
I  saw this in a magazine and it was pricey so I asked my dad to cut some wood out for me and here's my rendition of firecrackers on my mantle.


(sorry I couldn't get the picture to rotate after I downloaded it)

My dad spray painted them red, white and blue, then I sanded them lightly and he had previously drilled a hole for the rope (aka, the wick) and I glued the rope in.  Then I sprayed them with a satin polyurethane and tied raffia around each.  I love them, hope you do too.

Then I made my sons and daughter-in-laws a little surprise.  I took some canvases I had here and simply made a flag out of my granddaughter and grandson's hand and foot prints.
This one is of my granddaughter, Annie's prints.
This one is of Evan's prints.
Pretty cute, huh?
As always, hope you have a great day and a very happy 4th of July.  I am a very patriotic person and I love my country.
From Murray,
Kathy